So, you bought a new HP laptop, and suddenly, without warning, BitLocker was activated, locking your hard drive. 😨 You didn’t even set it up, and now you don’t have the recovery key. To make things worse, after installing a new SSD and trying to reinstall Windows, you’re stuck with an error saying “iaStorAfs.sys is missing or corrupted.” 😵💫
Don’t worry—we’ve got your back! Here’s a step-by-step guide to fix this issue and get your laptop running smoothly again! 🚀
🔹 Why Did This Happen? 🤔
HP laptops (and many others) often come with BitLocker auto-enabled by default. If you don’t back up the recovery key (typically to your Microsoft account), you may get locked out after a Windows update. 💀
To fix it, many users replace the hard drive (SSD or HDD) and try reinstalling Windows, but then they run into another issue: Intel Rapid Storage Technology (RST) driver problems. This results in errors like:
❌ “iaStorAfs.sys is missing or corrupted”
❌ Windows installation looping back to the start
❌ Laptop not detecting the SSD properly
Let’s fix all of this step by step! 🛠️
✅ Step 1: Check & Disable Intel RST in BIOS (If Possible)
- Restart your laptop and press the BIOS key (
F2,F10,Esc, orDel—varies by model) as soon as it turns on. - Look for the SATA Mode setting under Storage Configuration.
- If it’s set to Intel RST/RAID, change it to AHCI.
- Save changes and exit (
F10key usually does this).
🛑 What if you can’t disable RST? Some newer HP models don’t allow disabling RAID/RST. If that’s the case, move on to Step 2!
✅ Step 2: Load the Intel RST Driver During Windows Installation
- Download the Intel RST driver on another working PC:
👉 Get it from the Intel website (search for “Intel RST driver”). - Extract the files and copy them to a USB flash drive.
- Insert the USB into the laptop and boot from your Windows installation USB.
- When you reach the screen asking “Where do you want to install Windows?”, click Load Driver.
- Browse to the USB and select the Intel RST driver.
- Once loaded, your SSD should now be detected properly! 🎉
✅ Step 3: Complete Windows Installation & Avoid BitLocker Issues
- Proceed with installing Windows as usual.
- Sign in to a Microsoft account during setup to ensure future BitLocker recovery keys are saved online. ✅
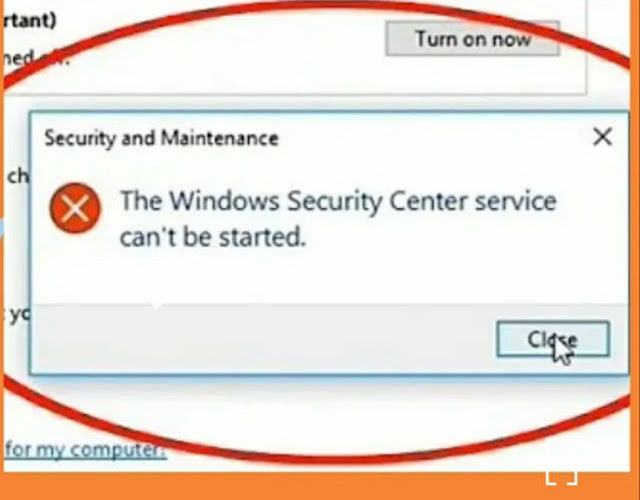
- Once Windows is installed, check if BitLocker is enabled:
- Go to Control Panel → BitLocker Drive Encryption.
- If enabled, turn it off and back up the key somewhere safe!
🎯 Conclusion
This issue can be frustrating, but following these steps will get your HP laptop back up and running. 💪 By disabling RST (or loading the correct driver) and managing BitLocker properly, you’ll avoid these problems in the future.
Need more help? Drop your questions in the comments! 📝👇
Happy computing! 🚀💻